Conveyors
Straight runs, inclines, transfers and takeaway belts, built in stainless to match the height and pace of the line you already run.
Send the drawings. We cut, form, weld and finish to them — conveyors, sorters, washers and one-off stainless steel built to fit the line you already run.
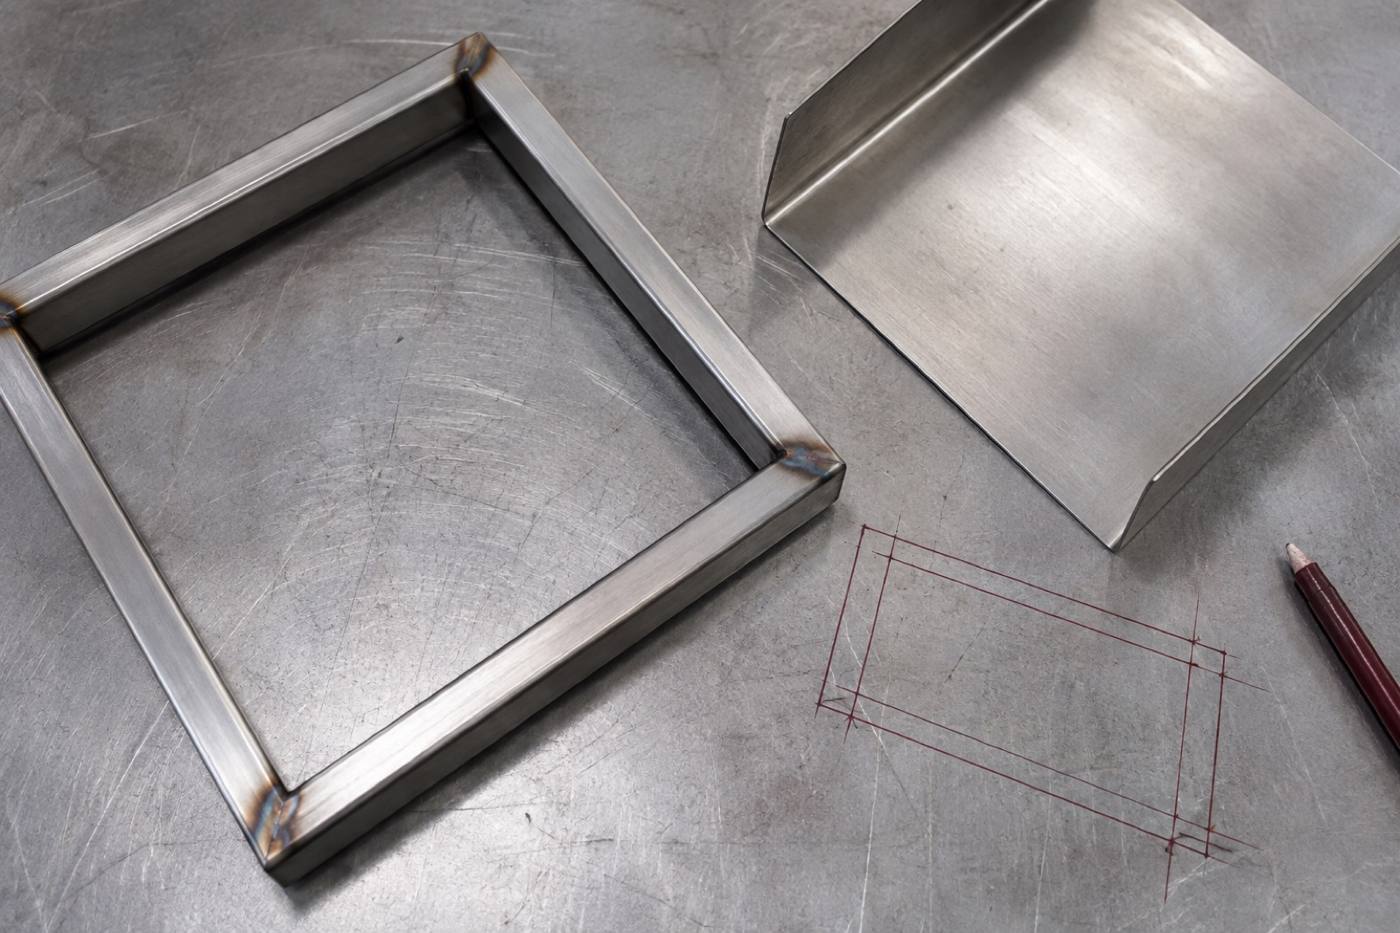
Fabricated in our own shop, so the conveyor lines up with the sorter, and the sorter lines up with the washer downstream.
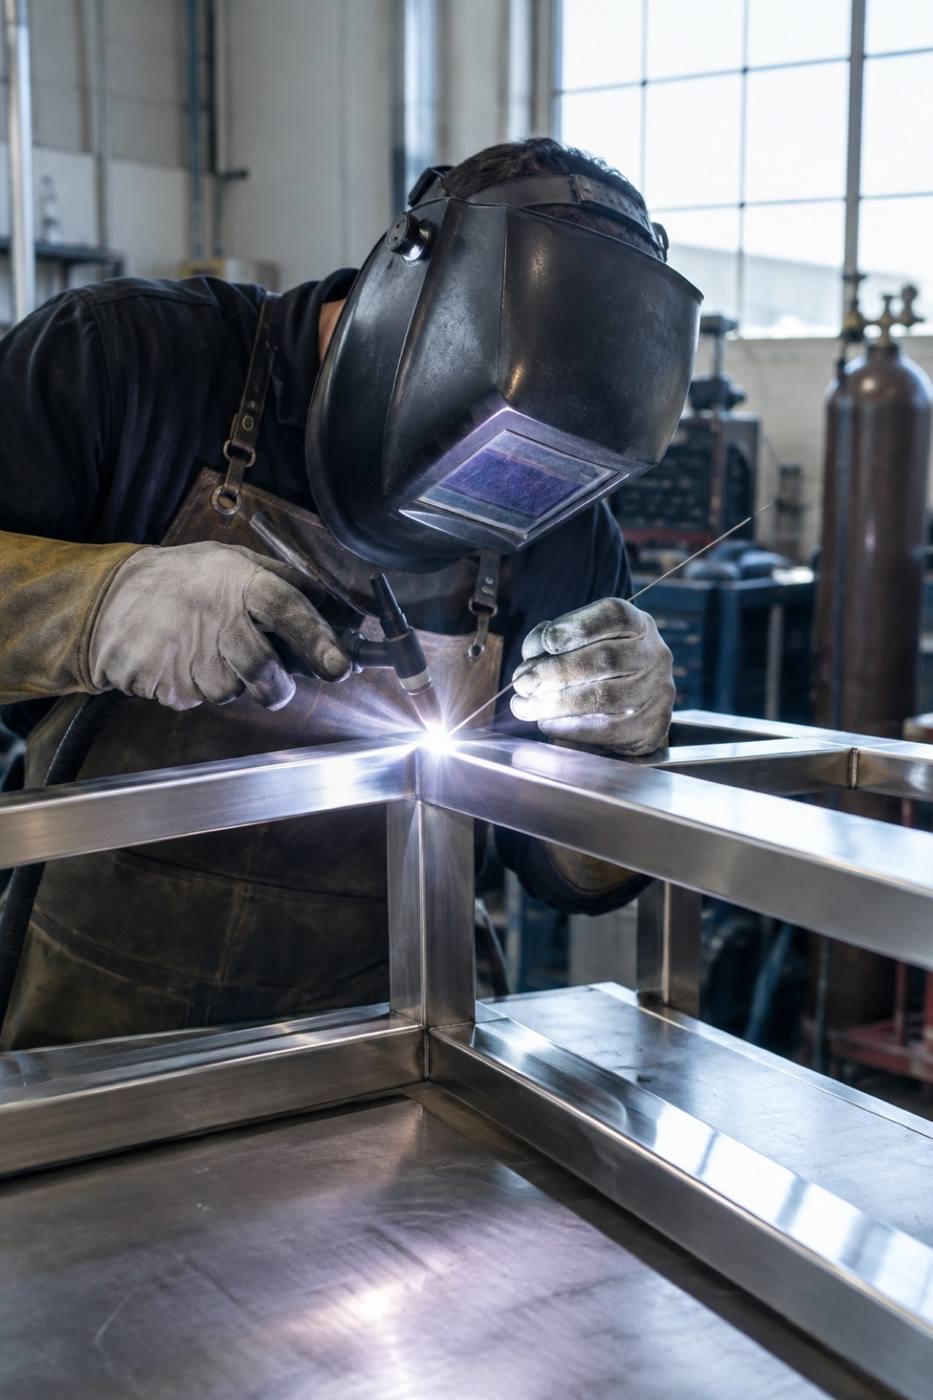
Every job starts as a drawing and a grease-pencil line on this bench. If your equipment has to fit a corner nobody else will touch, that is the work we like best.
Straight runs, inclines, transfers and takeaway belts, built in stainless to match the height and pace of the line you already run.
Size, shape and defect sorting decks fabricated around your product, so the lanes and drop points land where the next machine on the line needs them.
Spray bars, tanks and hoods built for wash-down duty, with the drainage and the access your sanitation crew asks for.
Frames, tables, guards, chutes and platforms. Sheet and tube cut and formed to the drawing, then welded out and dressed.
We set it, level it, tie it into your utilities and stay on the floor until it runs the way it was drawn.
One bench, one crew, one sequence — the same five moves whether the job is a single table or a full takeaway line.
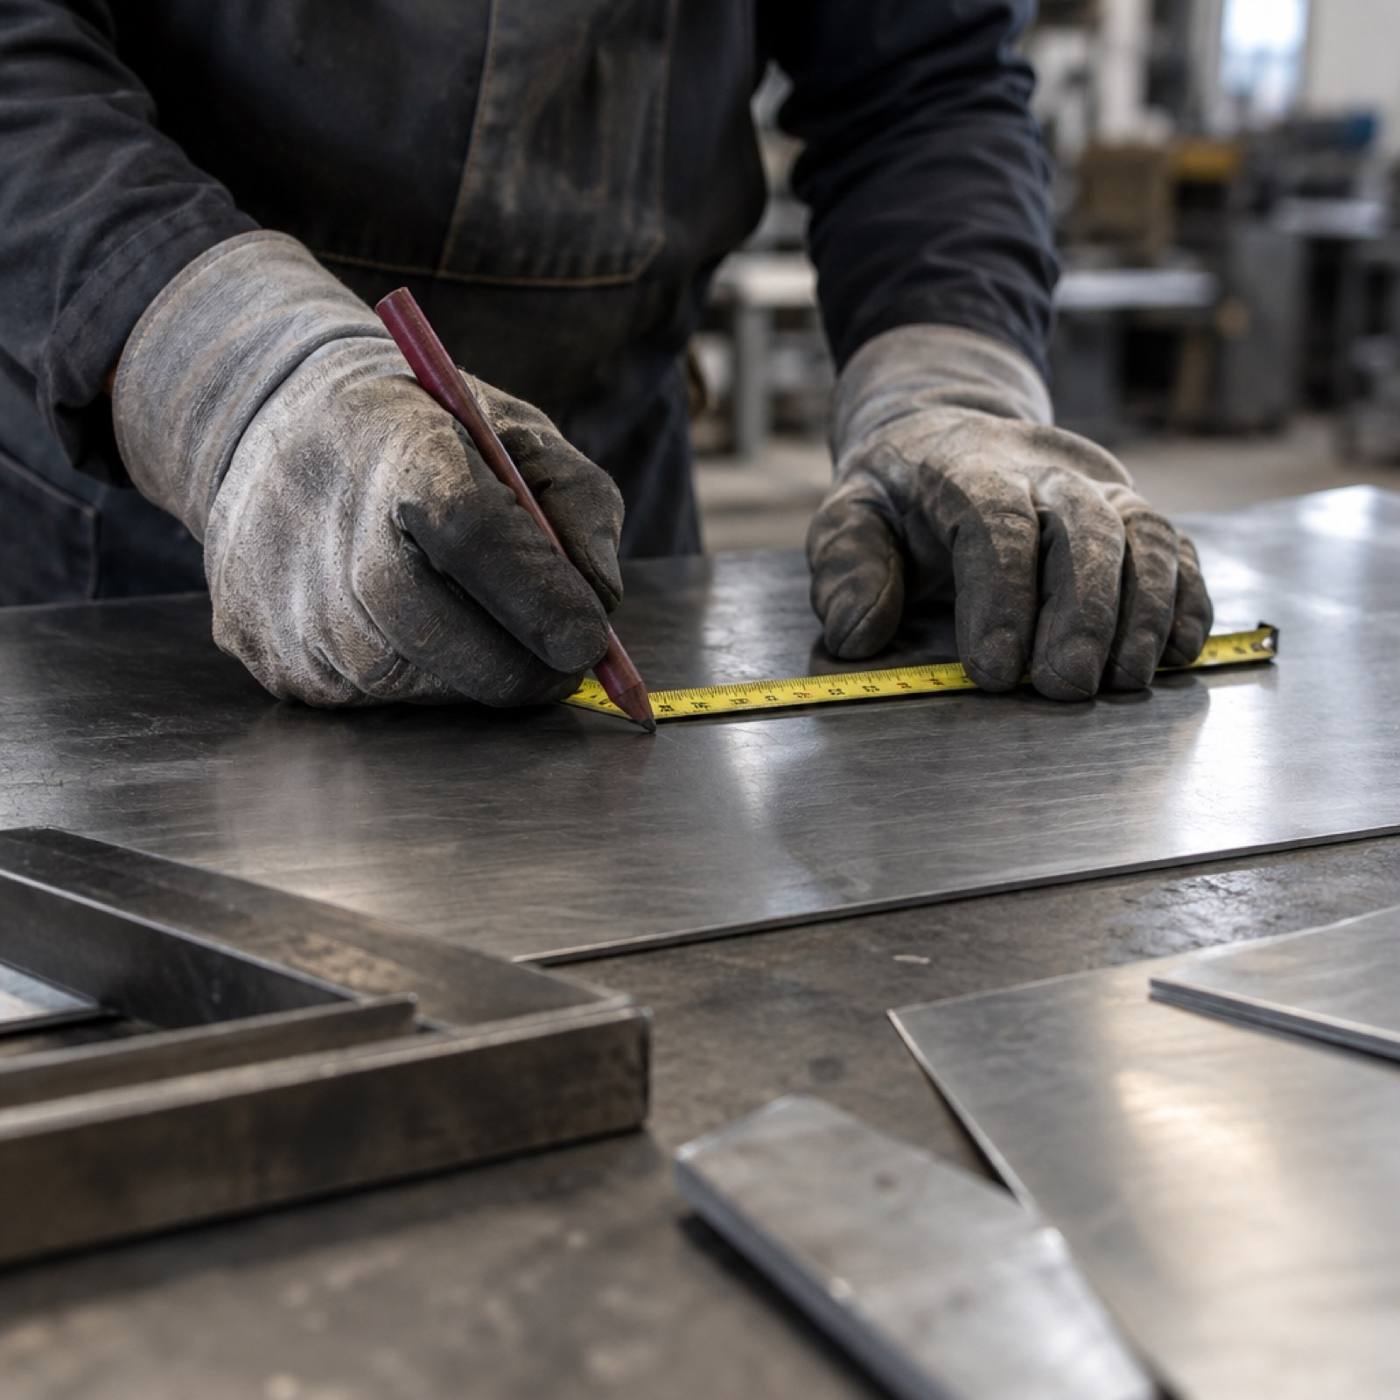
We start from your drawings and from the room itself. Tape, square and level first, then a grease-pencil line on the bench for the first cut.
Sheet and tube cut to the line, with the offcuts labelled and racked — the next job usually wants one of them.
Bent, folded and radiused so the parts hold their shape and clean up easily at wash-down.
Tacked, squared and checked before anything is welded out, so the frame stays true and the seams get dressed.
Ground and dressed where it matters, then wrapped, tagged and ready to travel.
Wrapped, loaded and set in place by the same crew that built it. Level, tied into your utilities, running, and handed over with the people who run the line standing next to us.
Book an install window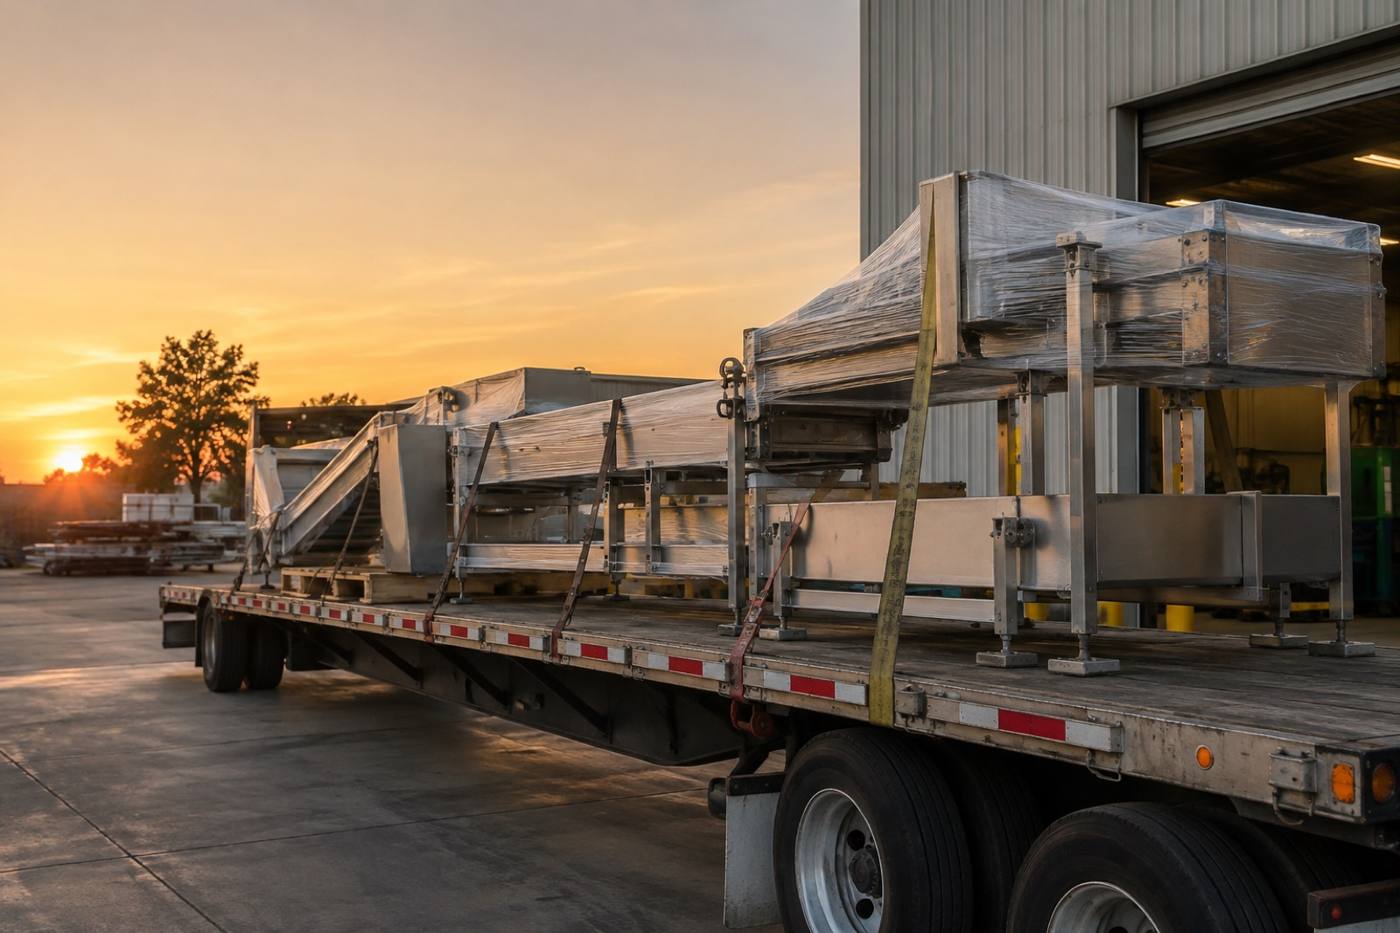
Tell us what the equipment has to do and what it has to fit around. That is usually enough for us to start.